|
Peeron_to_MLCad Tutorial
Peeron_to_MLCad
is useful to simplify the initial phase of implementation,
with MLCad, of
existing Lego Sets.
It's possible to reduce drastically the
time needed to select the parts and find the appropriate
colors.
Peeron_to_MLCad has a simple user interface and can be
downloaded at the following address: http://zaxxonit.altervista.org/peeron_to_mlcad.zip.

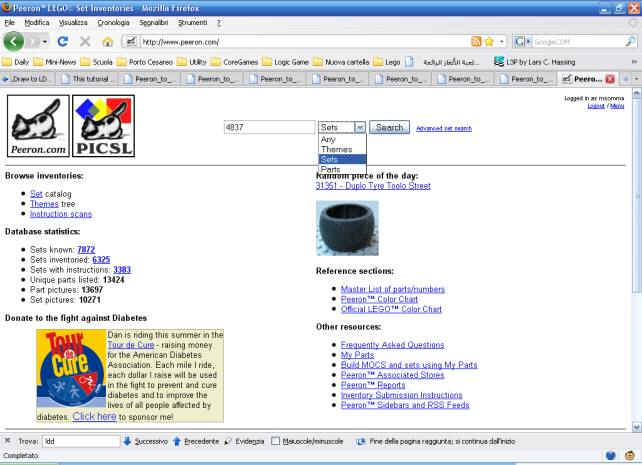
Suppose you
want to virtually reproduce the set 4837, a little green
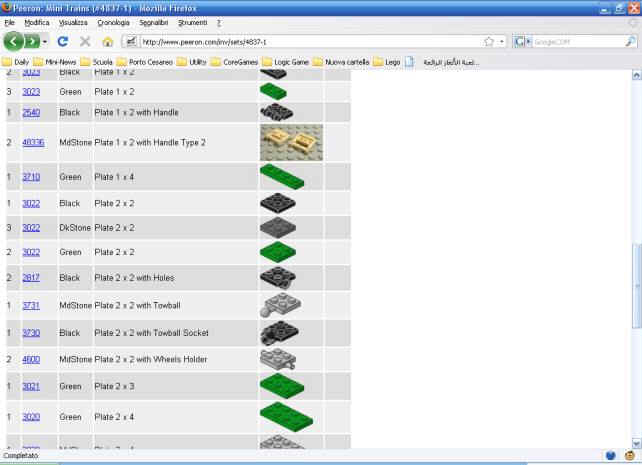
train. The site http://www.peeron.com
for every Lego set, offer an inventory of the parts
required and represents the starting point of this application.
Follow these steps to use Peeron_to_MLCad :
1)
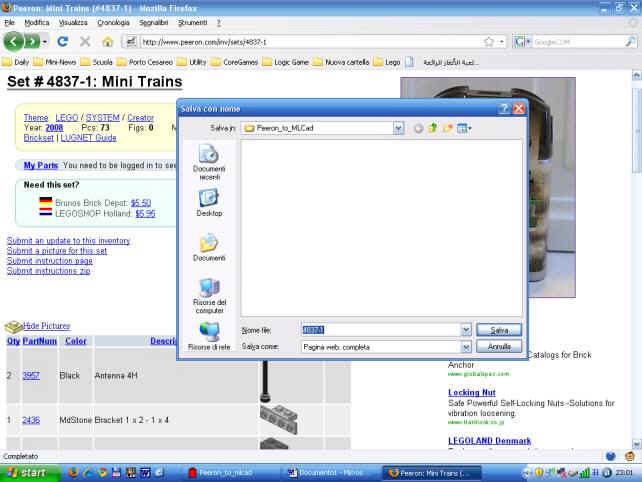
Connect to http://www.peeron.com,
make the search (in this case, the 4837 set) and then save the
page with the option "Save complete web page" in a
folder (is better where Peeroon_to_MLCad was launched). It's
possible to use Internet Explorer or Mozilla Firefox. The
program was tested with the version 7 of Internet Explorer and
with version 3 of Mozilla.
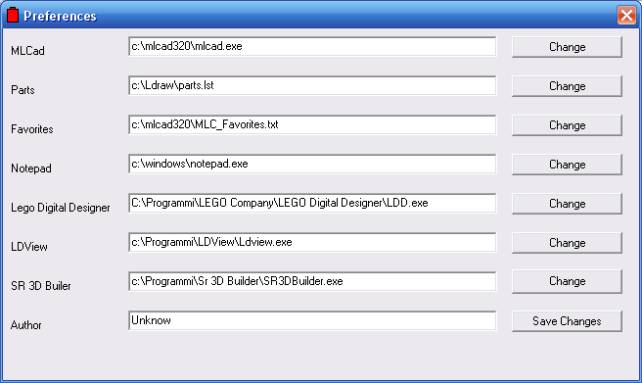
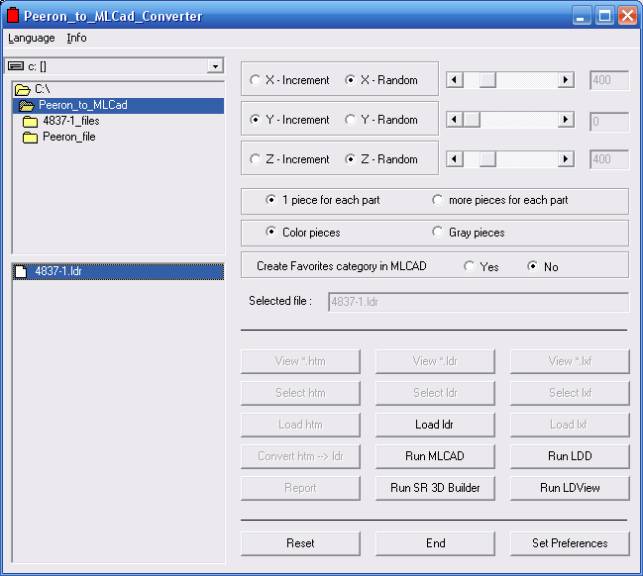
2) When
you use the program for the first time, click on Set
Preferences to check / change the settings (at least
the first 4). Click on Save Changes to confirm your
changes.
3) Then
Click on View *.htm
4)
Select in the left panel, the htm file name
5)
Click on Select htm
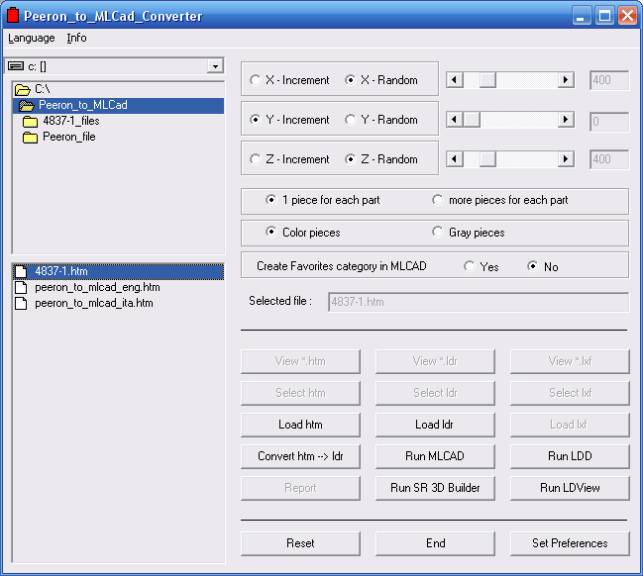
6)
Eventually, modify some options.
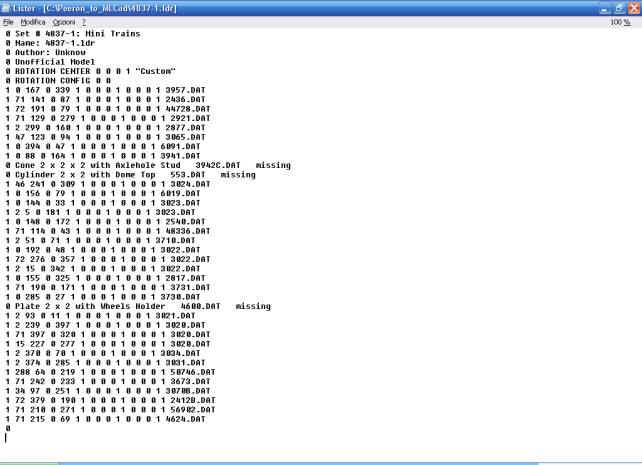
7)
Click on Convert htm --> ldr . The program will create a
file which can be read by MLCad.
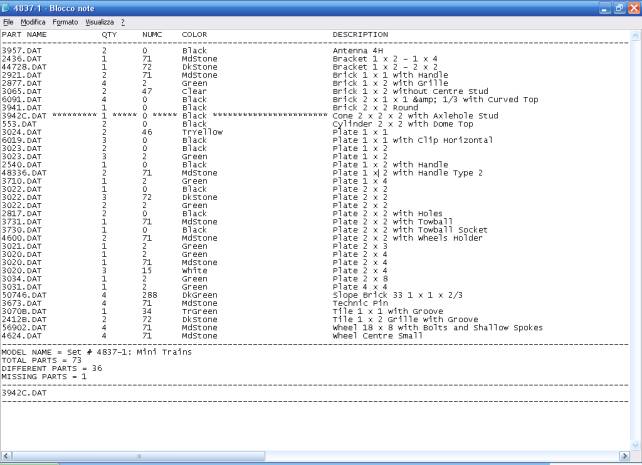
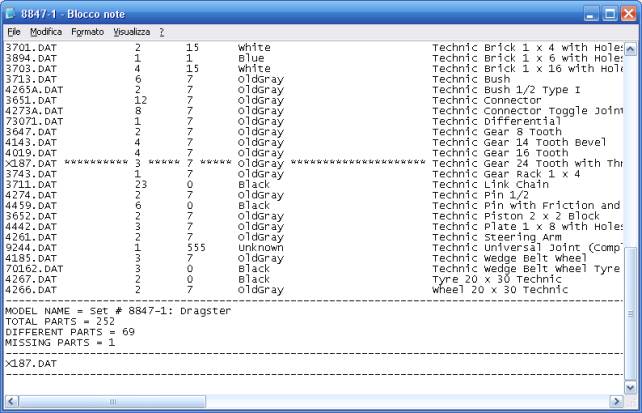
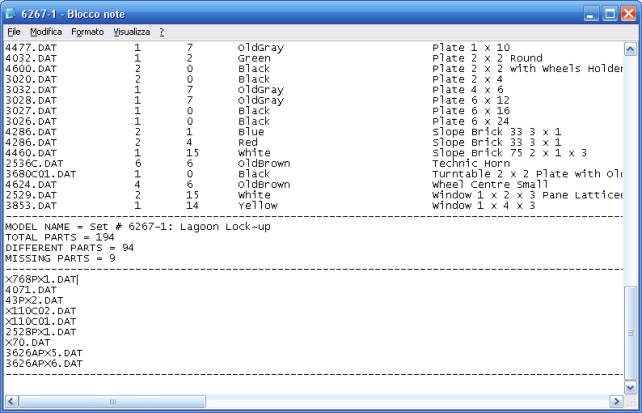
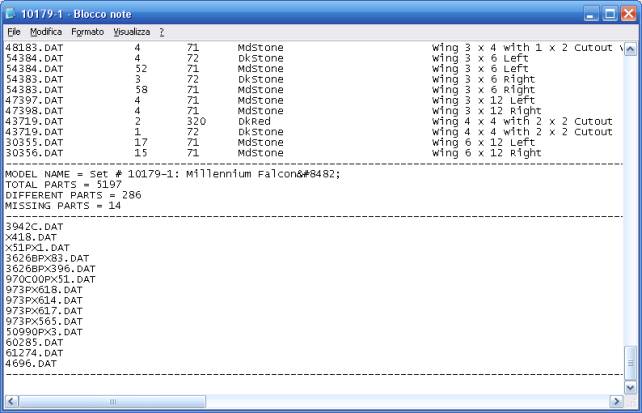
8)
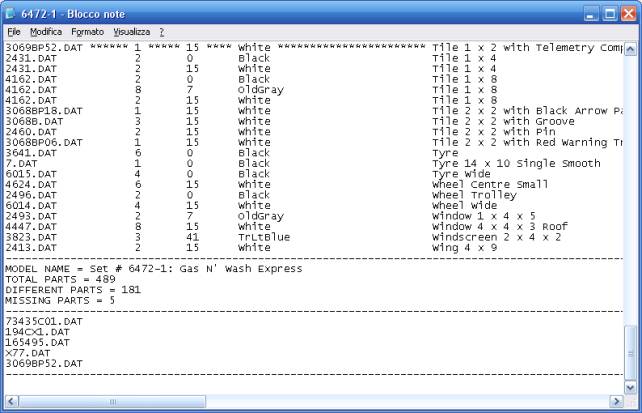
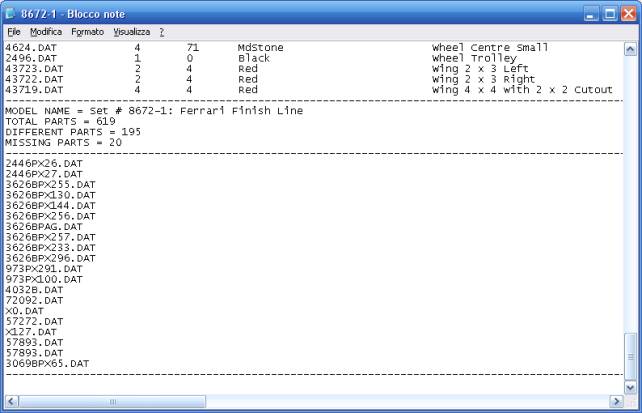
Click on Report if you want to see useful informations about
the missing parts:
9)
Click on Reset
10) Click on
View *. ldr
11) Select in
the left panel, the ldr file name
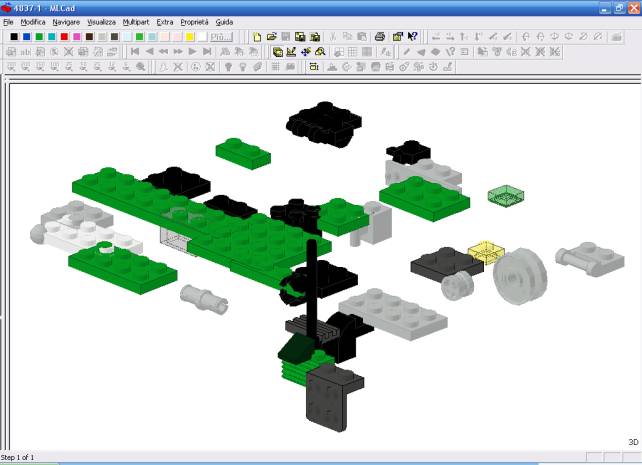
12) Click on
Select ldr
13) Click on
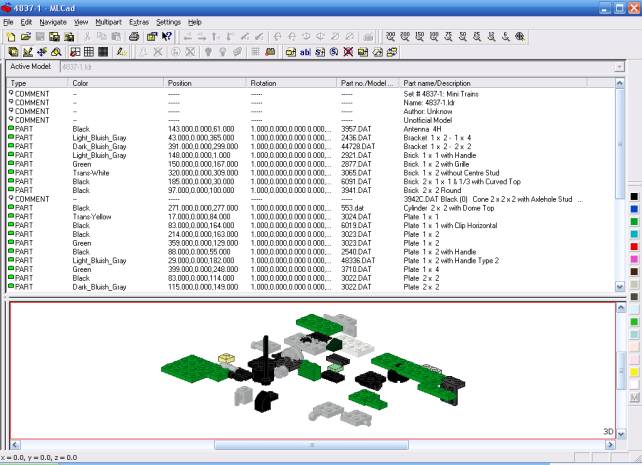
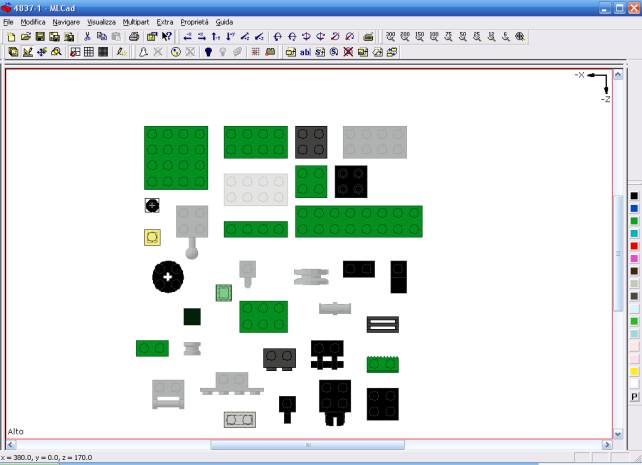
Load ldr. The generated file will open with MLCad and
the result is the following:

14) Now, simply "snap to
the grid" all the pieces using the appropriate
MLCAD-function
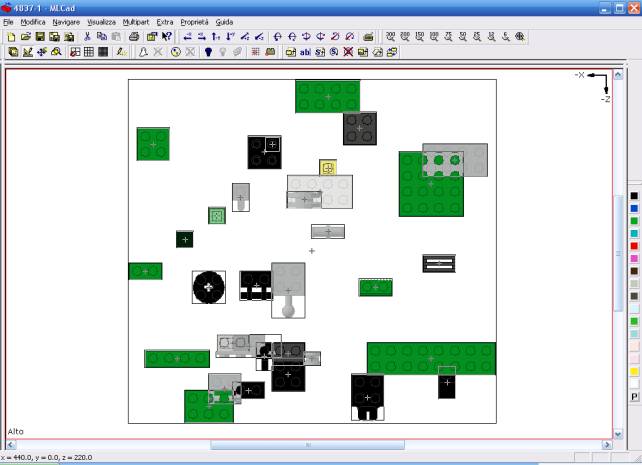
15) Place the pieces so that
there is no overlap.
If you have previously (in
the step 6) selected the option: "Create Category in
MLCad Favorites" you will have also a folder with the
pieces imported.
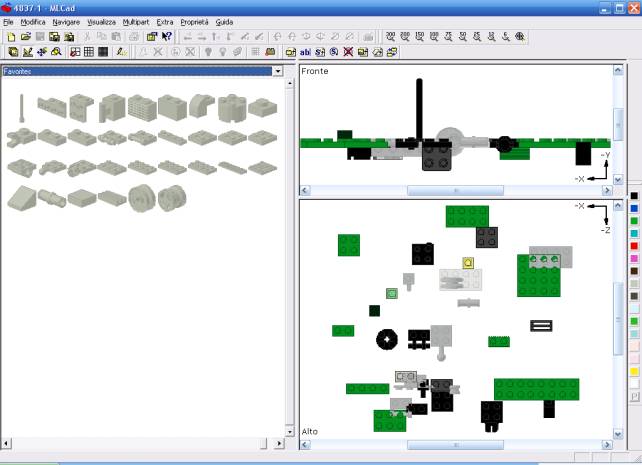
Now you can
start to reproduce the Set !!
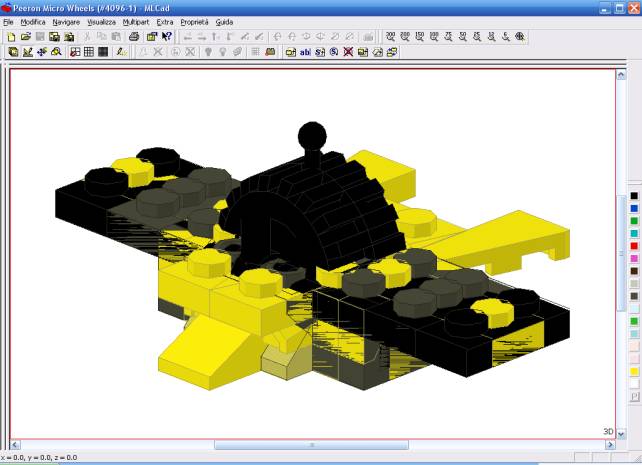
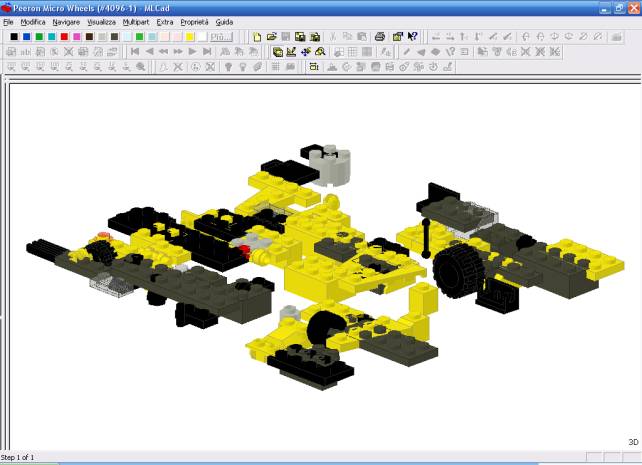
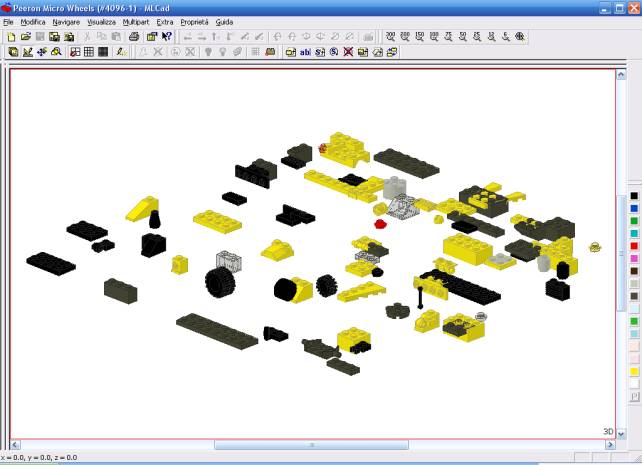
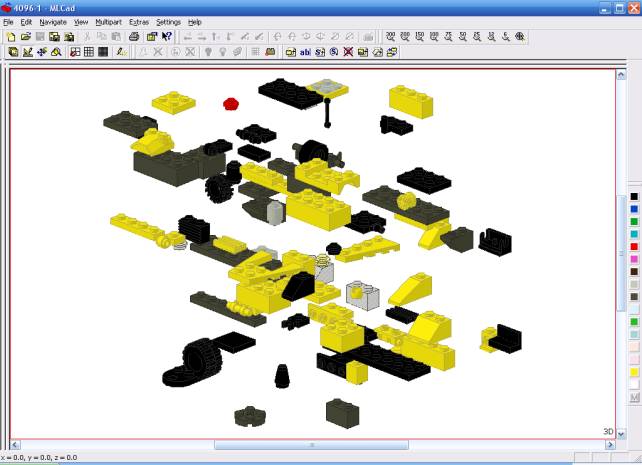
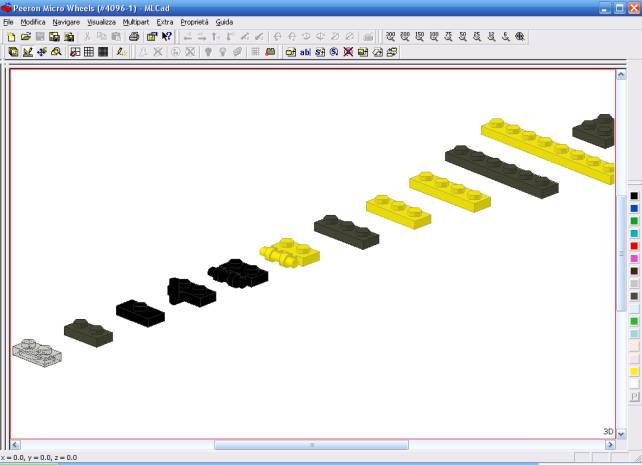
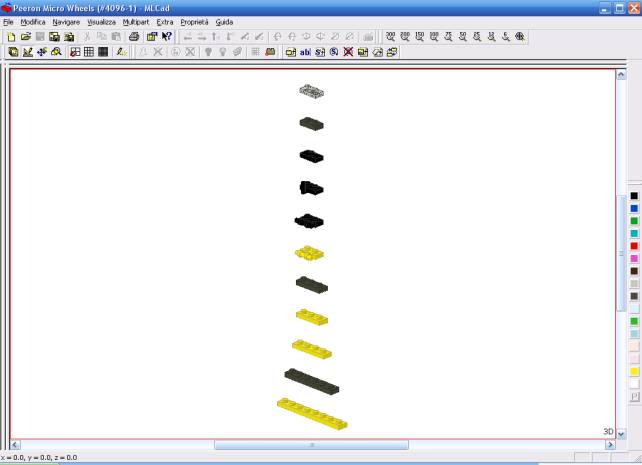
Options
1) Varying the
parameters related to the XYZ axes, before to start conversion,
you can import the parts in different ways. See below some
examples concerning the 4096 Set:
X - Increment
= 0
Y - Increment = 0
Z - Increment = 0
X - Random =
400
Y - Increment = 0
Z - Random = 400
X - Random =
1000
Y - Increment = 0
Z - Random = 1000
X - Increment
= 400
Y - Random = 400
Z - Random = 400
X - Increment
= 0
Y - Increment = 0
Z - Increment = 100
X - Increment
= 0
Y - Increment = 100
Z - Increment = 0
2) The
options: 1 piece / more pieces and
Color / Gray are obvious.
3) The other functions: Run LDD, Run LdView,
Run SR 3D Builder, Run MLCad are useful only to launch the most common
applications of CAD for LEGO.
Examples
You can see below the result of
other conversions:
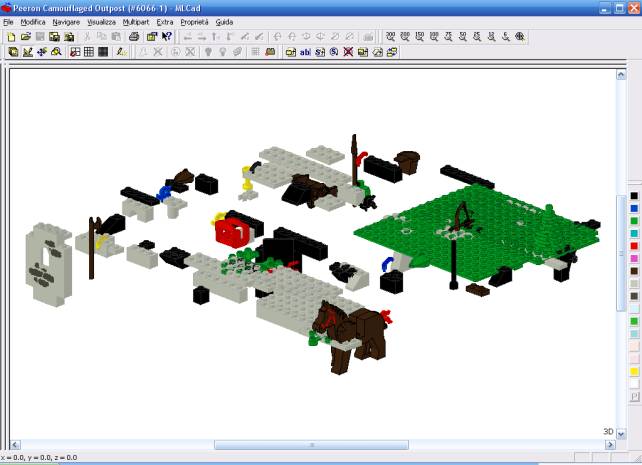
Set
# 6066-1: Camouflaged Outpost

Set
# 6472-1: Gas N' Wash Express

Set
# 4954-1: Model Town House


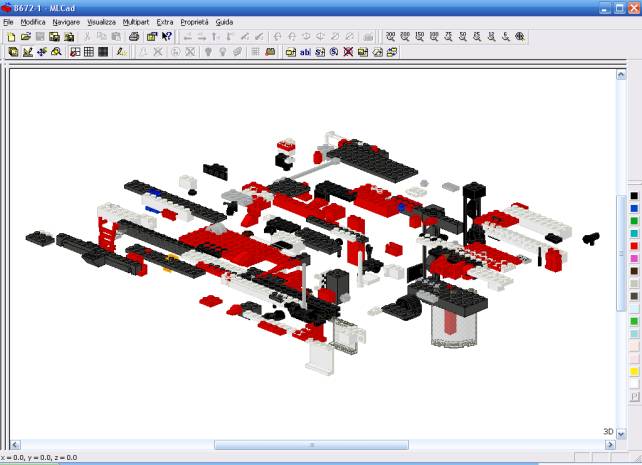
Set
# 8672-1: Ferrari Finish Line
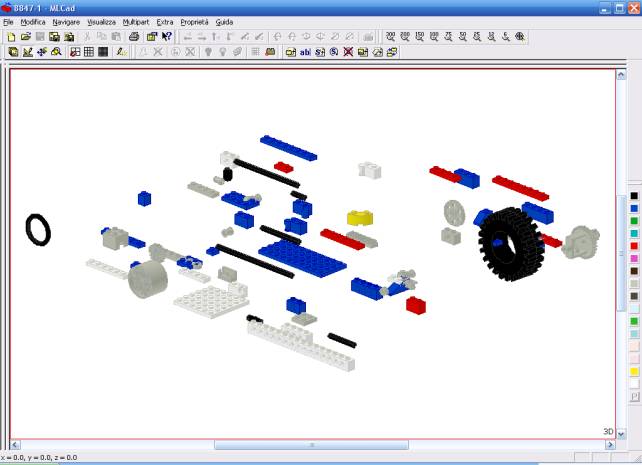
Set
# 8847-1: Dragster
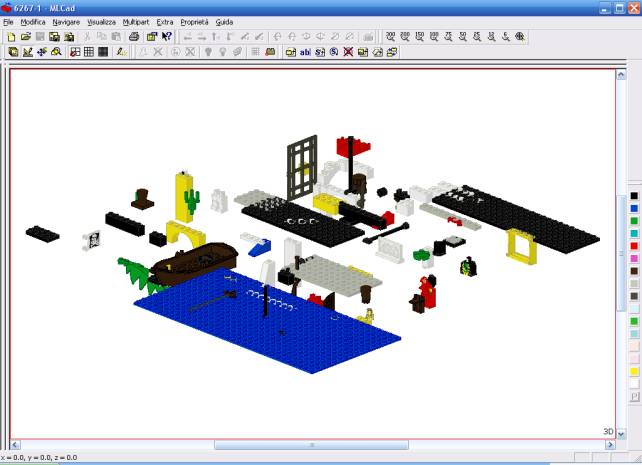
Set
# 6267-1: Lagoon Lock-up
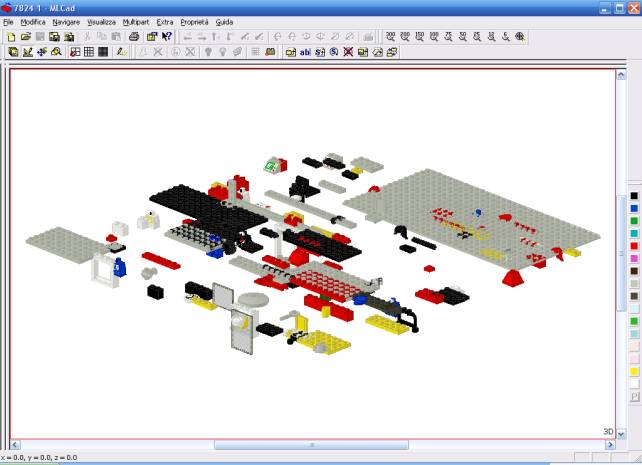
Set
# 7824-1: Train Station

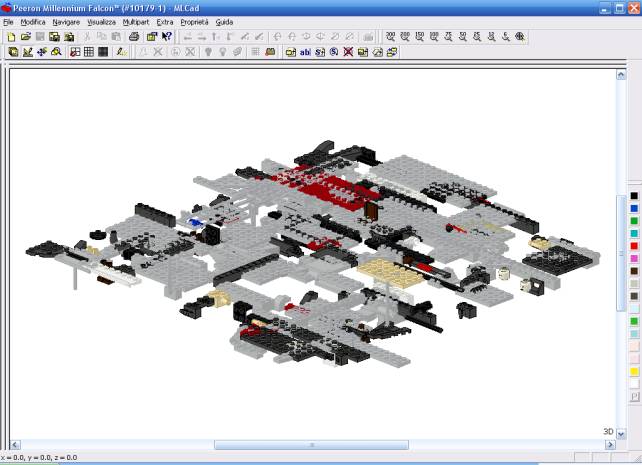
Set
# 10179-1: Millennium Falcon™
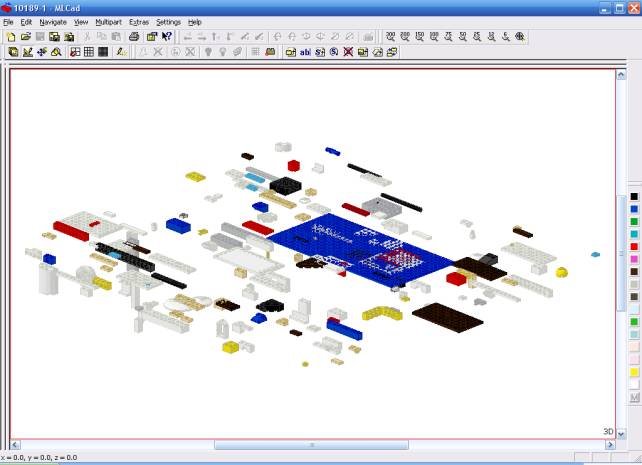
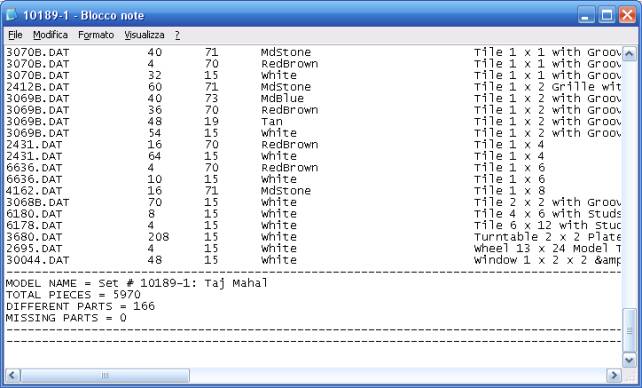
Set
# 10189-1: Taj Mahal
|